Feb 7, 2014 | garden fence, News
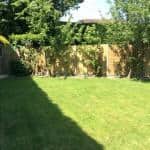
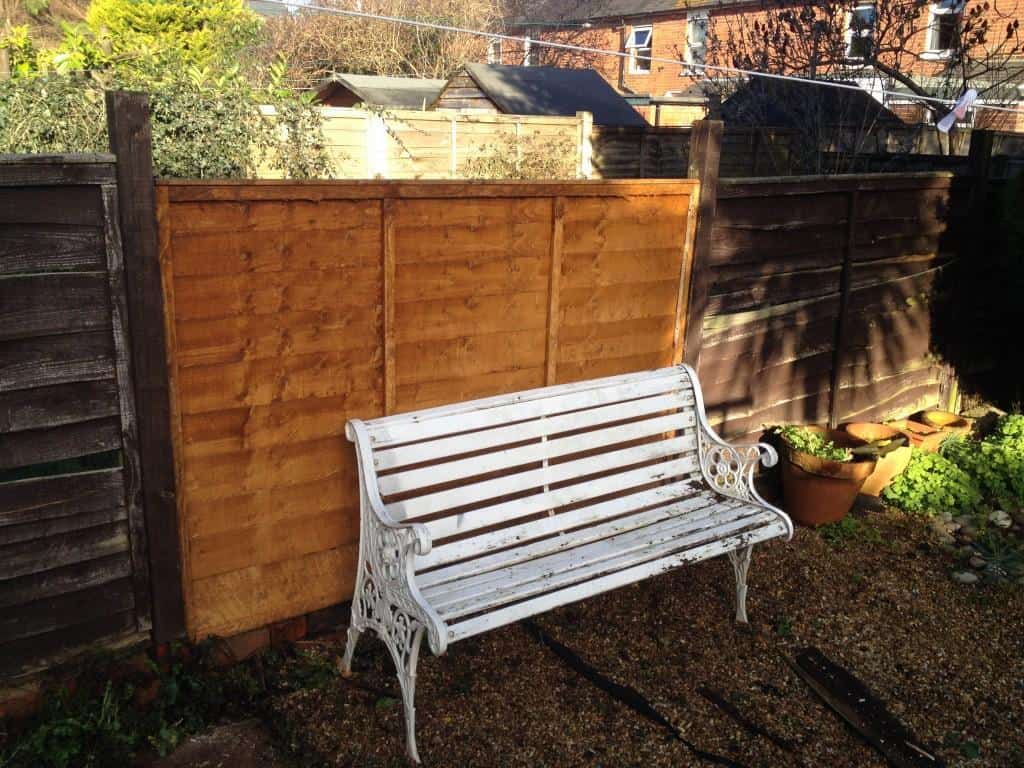
Replacement of a collapsed fence.
New wooden fence supplied by the customer.
4″ wooden fence posts
6′ overlap fence panels
fence post caps
One bit of advice..
Just bare in mind that if you are going to replace a broken fence you will most likely be putting in new fence posts where the previous ones were. That means you will have to break up concrete in which your last posts were sitting in.
It would be a very difficult job without a jack hammer so make sure you have got one before you begin.
Happy fencing !
Feb 3, 2014 | garden fence, News
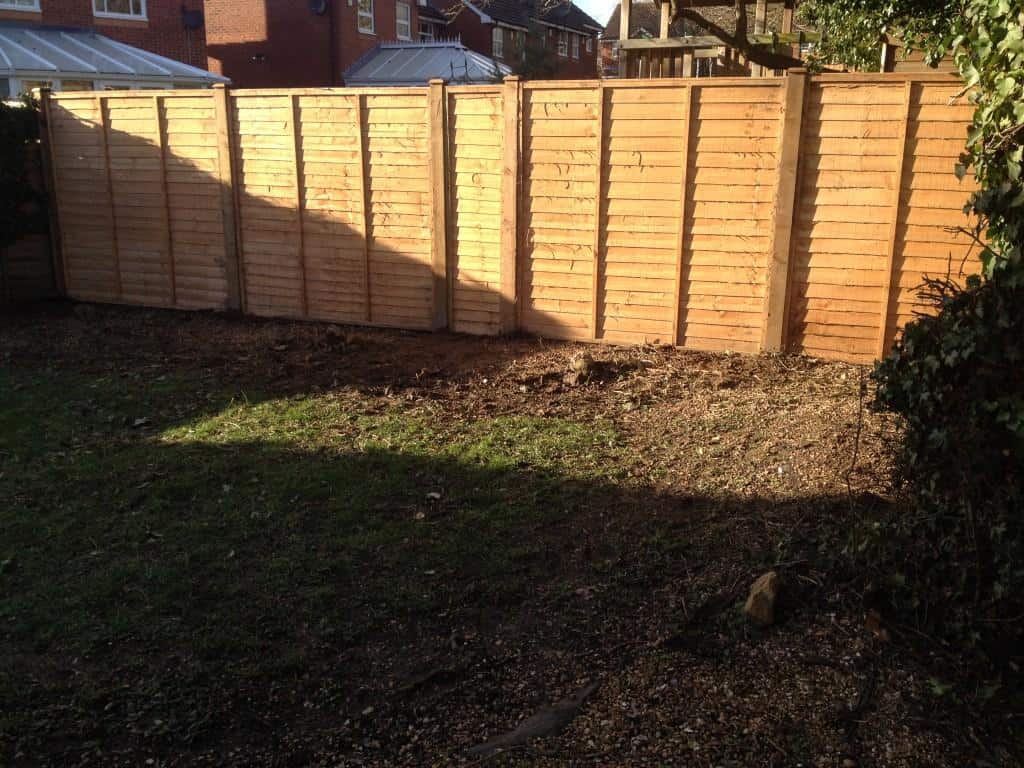
Fencing project. New fence in Bracknell
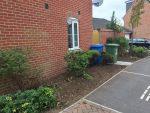
See below some photos of what the area looks like now.
I dismantled today what’s been left of that former fence and prepared the area..
That fencing job should be finished tomorrow. If everything goes to schedule I’ll post some photos soon after.
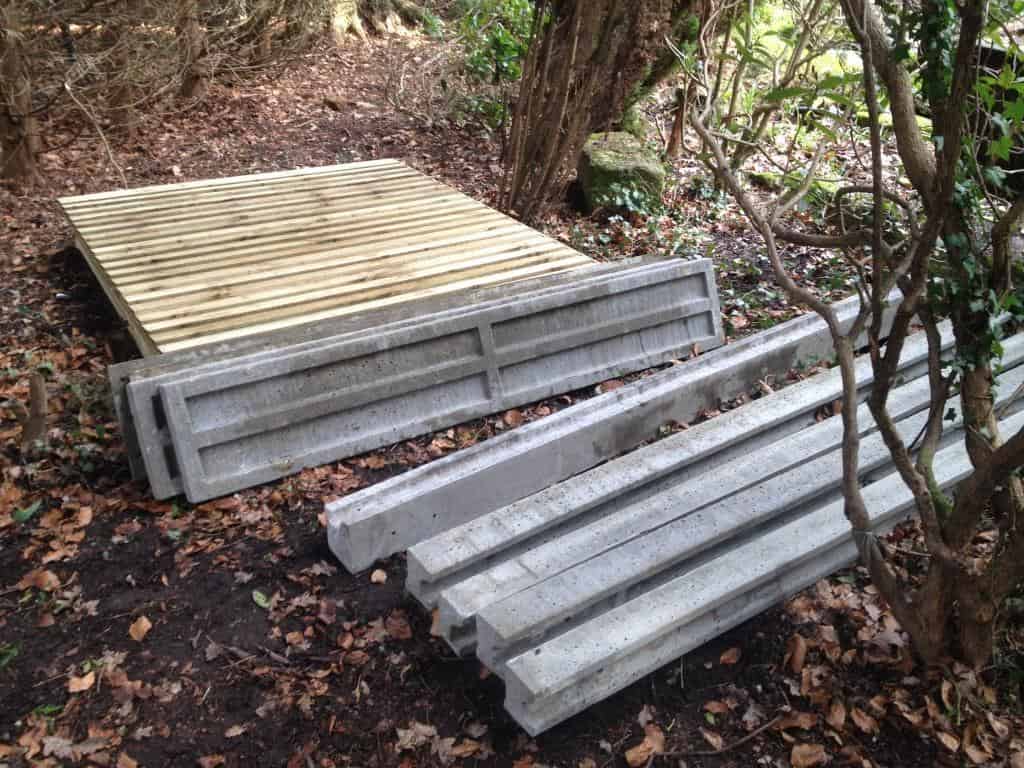
The fencing materials for this project include:
– Concrete posts
– 30cm concrete gravel boards
– 1.5m closed board fence panels
Giving the total fence height of 1.8m
All above supplied by a local friendly fence suppliers based in Winnersh.
Soil level on the other side of fence is much higher therefore I opted for 30cm high concrete gravel boards – to create a strong barrier and keep fence panels off the ground and extend their life.
Obviously any wood that is in direct contact with moist soil will rot much quicker..
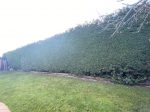
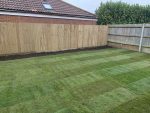
Finale…
Job finished on time.
Below final pictures of this fencing project.
On one of them you can see the fence from the neighbour side. Soil level is much higher there.
Jan 30, 2014 | garden fence, Landscaping
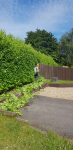
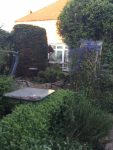
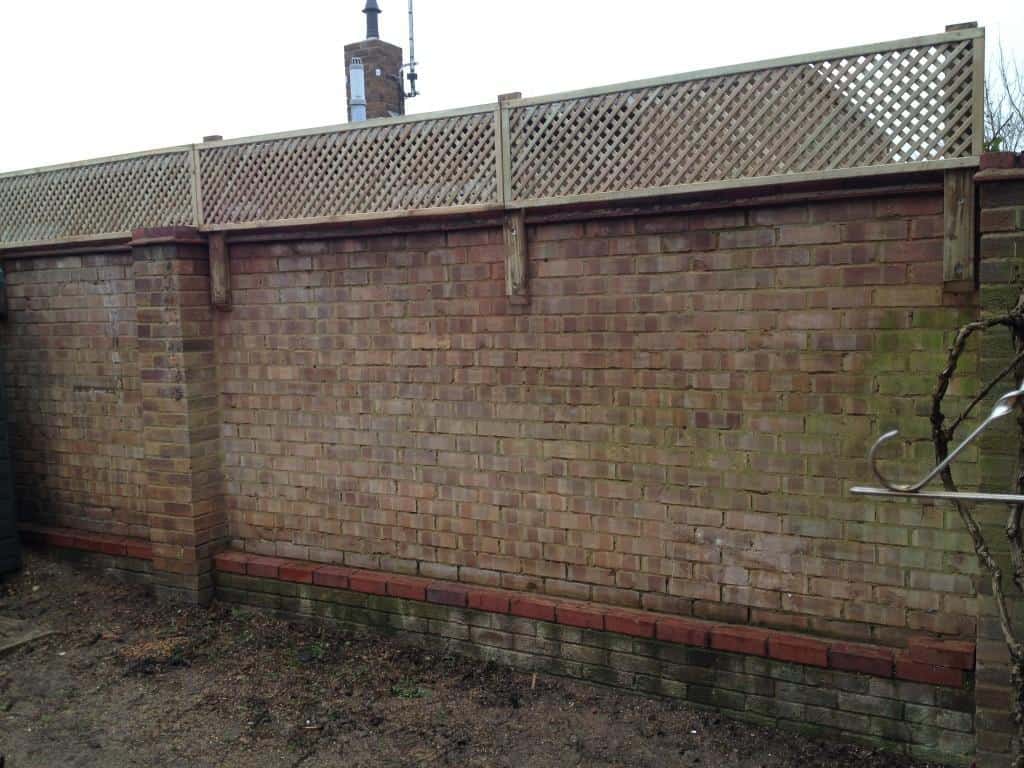
If you need a fence trellis to obscure view from/to your neighbours..
Good neighbours are always welcome but sometimes you need that little bit more of privacy. I supplied and installed a fence trellis on top of a brick wall to provide that extra privacy.
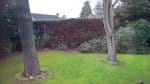
Here’s a couple of photos. Before and after.
Materials for this project:
– lattice diamond fence trellis
– 4×2 pieces of timber in required lengths – nicely finished with smooth edges, that will look much better.
For even better finish you might want to cut one side of supporting posts at an angle. ( see the picture )
Obviously drill etc but if you have a similar situation to the one in this garden you might also need a grinder to cut a piece of a slate at the top of wall so that the supporting wood sits flush with the wall.
The rest is pretty obvious.
Do it yourself or give me a call.

Jan 25, 2014 | garden fence, News
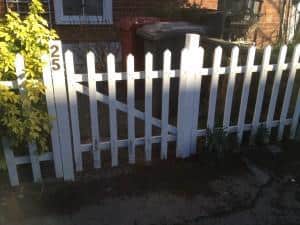
Fencing
Fence made of:
– 4″ fence posts
– metposts bolted down into a concrete.
– wooden gravel board
– featherboards for a close board panel
– lots of nails 🙂
Contact me here
Jan 11, 2014 | garden fence, News
Fence repair
Timber fencing looks lovely and utilises a beautiful natural resource, but
inevitably it will rot. Pressure treated fence panels usually have a 10year guarantee and they will most probably last that time, but fence posts might not even last half of that time. The most important factor is the amount of moisture they are
exposed to over the years.
Fence repair – post replacement.
What you need:
- spade or better a fence post digger
- digging bar, ideally a jackhammer 🙂 – to break up concrete around the post
- some gravel to put at the base of a hole – help to drain water away from the post
- bag of postcrete – sets in around 20min
- spirit level
How to do it:
Dig out old post. Post hole depth = 1/3 of the length that will be above the surface.
Put some gravel at the base of the hole
Stick new post in
Make sure it’s level
Fill 1/3 of the hole with water and add postcrete
Cement will set soon so make sure post is levelled well.
Fence repair – panel replacement

How to do it:
Remove old panel, easy if you have a decent crowbar.
Stick new panel in and secure with galvanised nails ( 75mm ) or use fence panel brackets.
Sometimes it won’t be that easy. New panel might not fit in just like that. If the gap is slightly smaller than your new panel then you are going to have to cut it to size.
That’s fairly easy:
Take off ( pull nails out ) two vertical battens that run along the edge of the panel.
Cut off as much of the planks as you need.
Reattach battens.
Job done.